
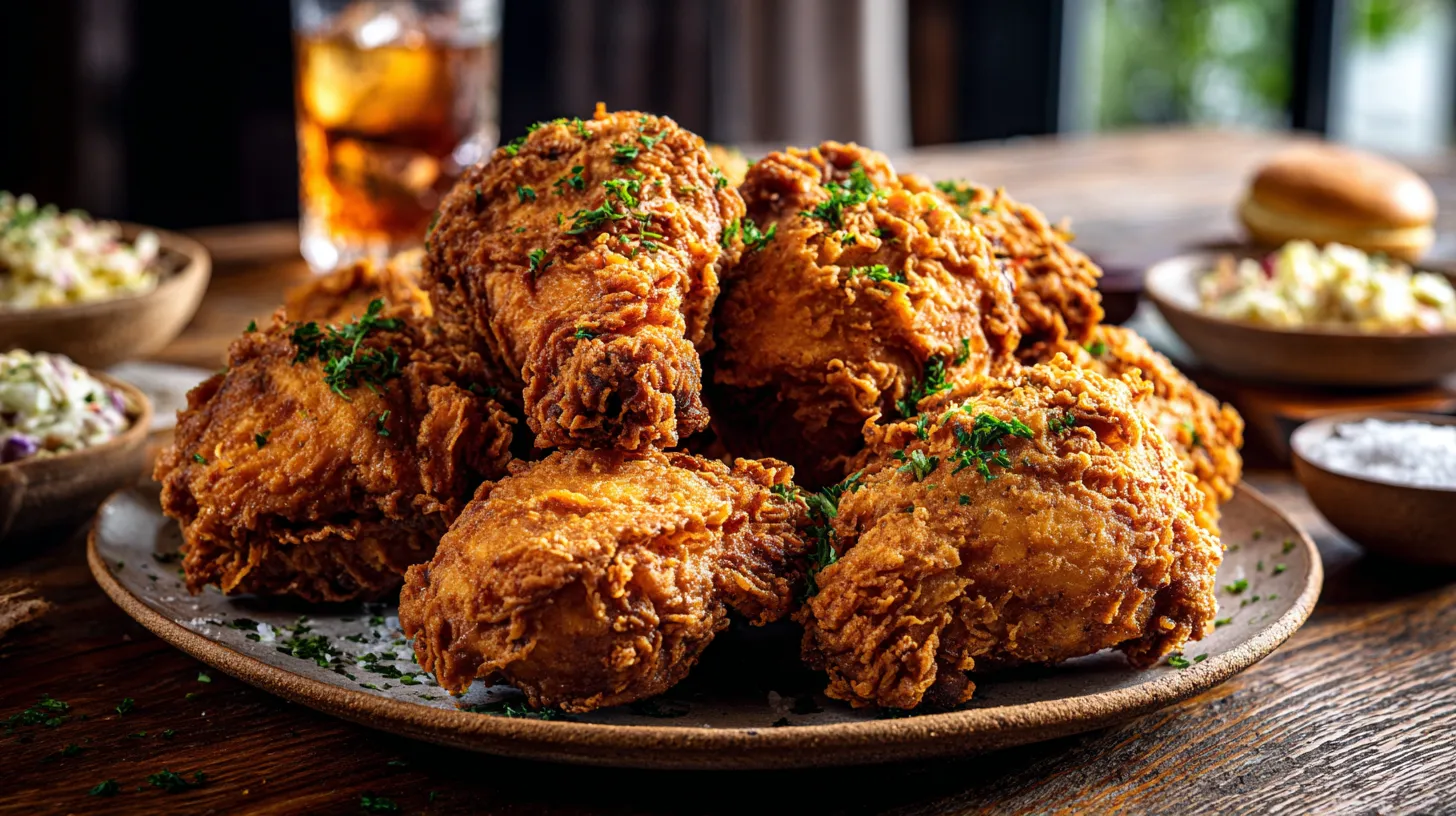
Let’s be honest, is there anything more universally loved than a plate of perfectly cooked fried chicken? That impossibly crispy, seasoned crust giving way to tender, juicy meat is the stuff of culinary legend. But for many home cooks, the idea of making it from scratch feels intimidating. The fear of greasy results, undercooked meat, or a smoke-filled kitchen is real. What if I told you that an easy fried chicken recipe exists that banishes those fears and guarantees success, even for a total beginner?
You’ve found it. This isn’t just another recipe; it’s your new go-to guide. We’re going to break down every single step, from picking the right chicken to mastering the temp oil for fried chicken. You’ll learn how to fry chicken in a pan with oil so effectively that you’ll wonder why you ever thought it was hard. Get ready to unlock the secrets to creating golden, crunchy, and utterly delicious fried chicken right in your own kitchen.
Why This is the Easiest Fried Chicken Recipe You’ll Ever Need
We’re stripping away the complexity. Forget complicated batter recipes, expensive deep fryers, and confusing techniques. This easy fried chicken recipe is built on a few core principles:
- Simple, Accessible Ingredients: You likely have most of what you need in your pantry right now. No weird, hard-to-find spices or flours.
- Basic Kitchen Equipment: All you need is a sturdy pan, tongs, and a thermometer. That’s it.
- A Foolproof Method: We focus on a simple seasoned flour dredge and pan-frying, a technique that gives you maximum control and fantastic results without the hassle of a deep fryer.
- Clear, Step-by-Step Guidance: We’ll walk you through everything, explaining the “why” behind each step so you can cook with confidence.
Key Takeaways
In a hurry? Here’s the bottom line for making this easy fried chicken recipe a smashing success:
- Use a Thermometer: Don’t guess the oil temperature. Maintaining a steady 325°F (165°C) is the single most important factor for crispy, non-greasy chicken.
- Don’t Crowd the Pan: Frying chicken in batches ensures the oil temperature doesn’t drop, which is the primary cause of soggy results. Give each piece plenty of space.
- Use the Right Oil: Choose a neutral oil with a high smoke point, like canola, vegetable, or peanut oil.
- Season Generously: The flour coating is your only chance to season the outside of the chicken. Be bold with your salt, pepper, and spices.
- Let It Rest: After frying, let the chicken rest on a wire rack, not paper towels. This allows air to circulate, keeping the bottom crust just as crispy as the top.
The Simple Science Behind Irresistibly Crispy Fried Chicken
Ever wonder what’s actually happening in that sizzling pan? It’s not magic, it’s science! Understanding the basics will make you a better cook and turn this easy fried chicken recipe into a masterpiece.
Heat, Fat, and the Magic of the Maillard Reaction
When you place the coated chicken into hot oil, a few things happen instantly. First, the intense heat begins to rapidly cook the surface, creating a barrier. This process quickly dehydrates the flour coating, turning it into a crunchy crust.
Simultaneously, the Maillard reaction kicks in. This is a complex chemical reaction between amino acids and reducing sugars that gives browned food its distinctive flavor and color. It’s the same process that gives seared steaks, toasted bread, and roasted coffee their delicious complexity. That golden-brown color on your fried chicken? That’s the Maillard reaction in all its glory.
Why the Coating is Your Secret Weapon
The simple flour dredge in this easy fried chicken recipe does more than just carry the seasoning. It serves two critical functions:
- Moisture Protection: The coating creates a shield that protects the meat from the harsh heat of the oil. It locks in the chicken’s natural juices, ensuring the meat steams gently inside while the exterior gets incredibly crisp. This is the secret to that coveted juicy-on-the-inside, crispy-on-the-outside texture.
- Texture Creation: The starch in the flour gelatinizes and then dries out, forming a complex, craggy, and crunchy crust that is the hallmark of great fried chicken.
Choosing Your Champion: The Best Cut of Chicken for Frying
While you can fry just about any part of the chicken, certain cuts are more forgiving and yield better results, especially for a beginner-friendly, easy fried chicken recipe.
Bone-in vs. Boneless: A Matter of Flavor and Time
- Bone-in Chicken: This is the classic choice for a reason. The bone helps the meat cook more evenly and adds a significant amount of flavor and moisture. Cuts like thighs, drumsticks, and wings are rich in collagen and fat, which keeps them incredibly succulent during frying. They take longer to cook but the payoff is immense.
- Boneless Chicken: Boneless, skinless chicken breasts or thighs are a great option if you’re short on time. They cook much faster and are perfect for chicken sandwiches or for cutting into tenders. The main challenge is to avoid overcooking them, as they can dry out more easily than their bone-in counterparts.
Apply the same technique to crispy fried wings
A Quick Guide to Chicken Cuts: Thighs, Drumsticks, Breasts, and Wings
For this easy fried chicken recipe, we highly recommend starting with bone-in, skin-on thighs and drumsticks. They are the most flavorful and forgiving cuts.
| Chicken Cut | Average Cooking Time | Why It’s Great for Frying |
| Thighs (Bone-in) | 20-25 minutes | The king of fried chicken. Dark meat with a high fat content means it stays incredibly juicy and flavorful. Very hard to overcook. |
| Drumsticks | 18-22 minutes | Another dark meat champion. Easy to eat and packed with flavor. The skin gets wonderfully crispy. |
| Wings (Whole or split) | 10-15 minutes | Amazing skin-to-meat ratio, making them a crispy lover’s dream. Cooks relatively quickly. |
| Breasts (Bone-in) | 25-30 minutes | Leaner than dark meat, but the bone and skin help retain moisture. Prone to drying out if overcooked. |
Gearing Up: Essential Tools for Your Fried Chicken Adventure
You don’t need a kitchen full of fancy gadgets. The beauty of this easy fried chicken recipe lies in its simplicity. Here’s your essential toolkit:
- A Heavy-Bottomed Skillet: A 12-inch cast-iron skillet is the undisputed champion for frying chicken. It retains heat exceptionally well, preventing the oil temperature from dropping and ensuring an even, golden-brown crust. A heavy-duty stainless steel skillet or a Dutch oven will also work well.
- Tongs: You’ll need a pair of long-handled tongs to safely place, turn, and remove the chicken from the hot oil.
- A Digital Instant-Read Thermometer: This is the most important tool on this list. It’s the only way to accurately measure both the oil temperature and the internal temperature of the chicken, taking all the guesswork out of the process.
- Wire Cooling Rack: Placing cooked chicken on a wire rack allows air to circulate, keeping the bottom crispy. Placing it directly on paper towels will trap steam and make the crust soggy.
- Shallow Dishes or Pie Plates: You’ll need two for your dredging station: one for the seasoned flour and one for your egg wash or buttermilk.
All our fried chicken recipes and techniques
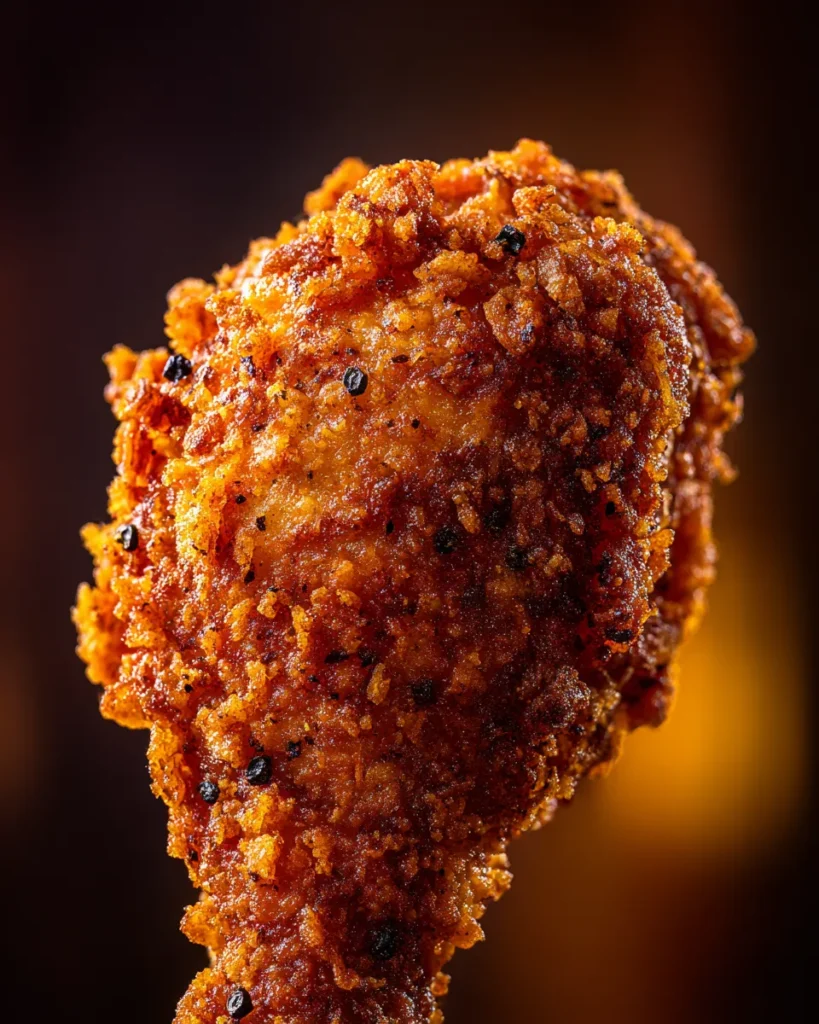
The Heart of the Flavor: Crafting the Ultimate Seasoned Flour
The soul of any great fried chicken is its seasoned crust. Our blend is classic, savory, and designed to create that flavor you know and love.
The Classic Spice Blend for That Unforgettable Taste
This simple but potent combination is all you need. In a shallow dish, whisk together the following:
- 2 cups all-purpose flour
- 2 tablespoons kosher salt
- 2 tablespoons black pepper (coarsely ground is best)
- 1 tablespoon paprika (sweet, not smoked)
- 2 teaspoons garlic powder
- 2 teaspoons onion powder
- 1 teaspoon cayenne pepper (optional, for a little kick)
Pro Tip: Taste your flour mixture! It should taste salty and well-seasoned. If it tastes bland, your chicken will be bland. This is your one shot to season the exterior.
The Pro Move: Brining for Maximum Juiciness (It’s Easier Than You Think!)
Want to take your easy fried chicken recipe to the next level? Brine it. Brining is simply soaking the chicken in a saltwater solution. This process helps the chicken retain more moisture during cooking, essentially guaranteeing juicy, tender meat.
Simple Buttermilk Brine:
- In a large bowl, whisk together 4 cups of buttermilk and ¼ cup of kosher salt until the salt dissolves.
- Submerge your chicken pieces in the buttermilk.
- Cover and refrigerate for at least 4 hours, or up to 24 hours.
When you’re ready to cook, just lift the chicken out of the buttermilk, let the excess drip off, and dredge it directly in the seasoned flour. The buttermilk adds a wonderful tangy flavor and acts as a fantastic binder for the coating.
The Easiest Fried Chicken Recipe You’ll Ever Make
This is it! The moment you’ve been waiting for. Follow these steps precisely, and you’ll be rewarded with some of the best fried chicken of your life.
Ingredients List
- 3 to 4 lbs bone-in, skin-on chicken pieces (thighs and drumsticks are recommended)
- 2 large eggs, lightly beaten (or use buttermilk from brining)
- 2 cups all-purpose flour
- 2 tbsp kosher salt
- 2 tbsp black pepper
- 1 tbsp paprika
- 2 tsp garlic powder
- 2 tsp onion powder
- 1 tsp cayenne pepper (optional)
- 48 oz (about 6 cups) neutral frying oil (canola, vegetable, or peanut oil)
Step-by-Step Cooking Instructions
- Prep the Chicken: Pat your chicken pieces completely dry with paper towels. This is crucial for a crispy crust. If you didn’t brine, season the chicken pieces themselves with a little salt and pepper.
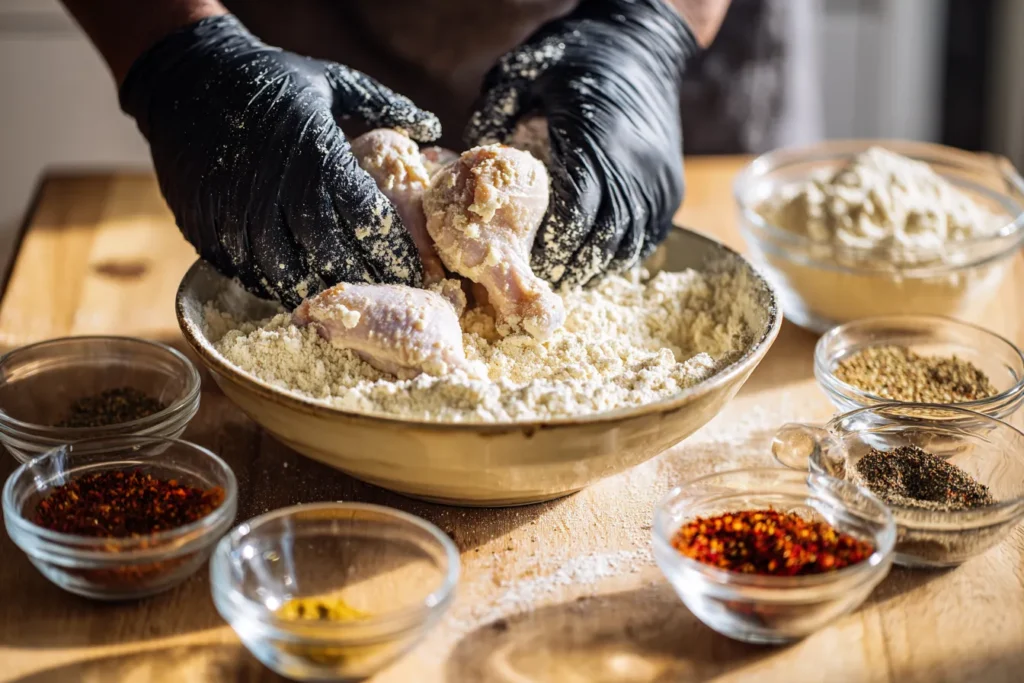
- Set Up Your Dredging Station: You’ll need two shallow dishes. In the first, place your beaten eggs (or if you brined, you’ll use the buttermilk clinging to the chicken). In the second dish, thoroughly whisk together the flour, salt, pepper, paprika, garlic powder, onion powder, and cayenne.
- Dredge the Chicken: Working one piece at a time, dip the chicken into the egg to coat it lightly. Then, transfer it to the flour mixture. Use your dry hand to scoop flour over the chicken, pressing it on firmly to ensure the entire piece is generously and evenly coated. Shake off any excess flour and place the coated piece on a clean plate or wire rack. Let the coated chicken rest for 15-20 minutes. This helps the coating adhere and become a “paste,” which results in a crispier crust.
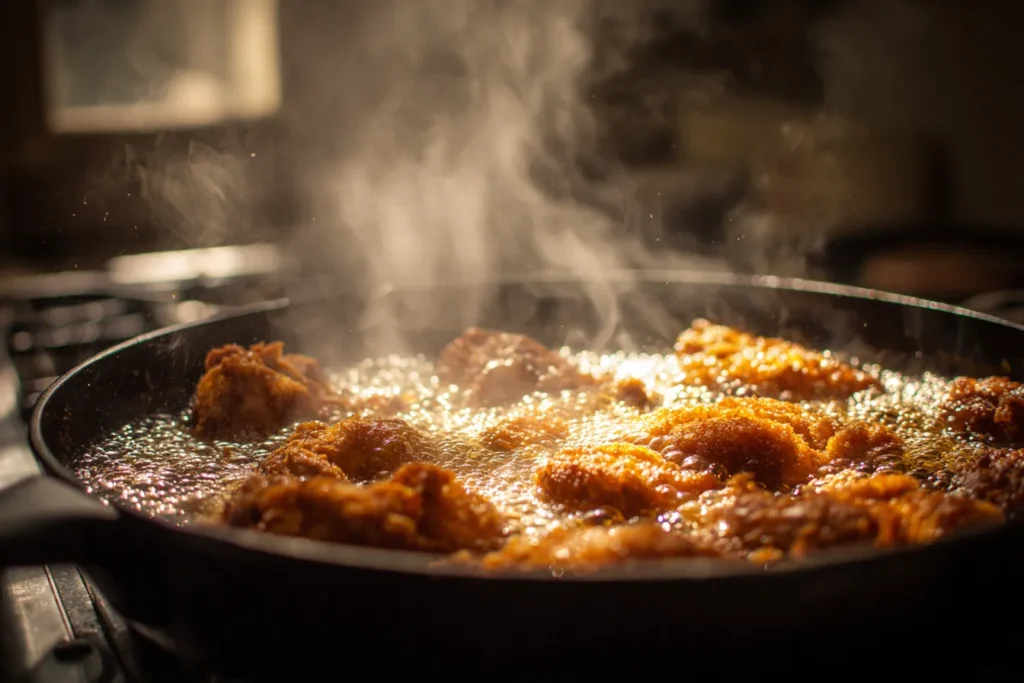
- Heat the Oil: While the chicken rests, pour your oil into a large cast-iron skillet. The oil should come about halfway up the sides of the pan. Heat the oil over medium-high heat until it reaches 325°F (165°C). Use your thermometer to monitor the temp oil for fried chicken carefully. This is the perfect temperature for frying – hot enough to crisp the outside but not so hot that it burns before the inside is cooked.
- Fry the Chicken: Carefully place the chicken pieces into the hot oil, skin-side down, using tongs. Do not crowd the pan! Fry in batches of 3-4 pieces. Crowding the pan will dramatically lower the oil temperature, leading to greasy chicken.
- Cook and Turn: Fry the chicken for about 6-8 minutes per side, turning only once. The crust should be a deep golden brown and crispy. Adjust the heat as needed to maintain a steady oil temperature between 300°F and 325°F.
- Check for Doneness: The chicken is done when its internal temperature reaches 165°F (74°C) for white meat or 175°F (80°C) for dark meat. Use your instant-read thermometer and insert it into the thickest part of the meat, being careful not to touch the bone.
- Rest and Serve: Transfer the cooked chicken to a wire rack set over a baking sheet to drain. Let it rest for at least 10 minutes before serving. This allows the juices to redistribute throughout the meat.
Mastering the Pan: How to Fry Chicken in a Pan with Oil Like a Pro
The actual frying process is where technique matters most. Learning how to fry chicken in a pan with oil is a skill that will serve you well for life.
Pan Selection: Why Cast Iron is King
As mentioned, a cast-iron skillet is your best friend. Its heavy mass holds a tremendous amount of heat. When you add the cold chicken to the pan, a lightweight pan’s temperature will plummet. Cast iron’s thermal inertia means it resists this temperature drop, helping you maintain that crucial steady heat needed for a crispy crust.
The Oil Debate: Which Oil is Best for Frying?
You need an oil that can handle the heat without breaking down and smoking. This is determined by its smoke point. Here are your best options for this easy fried chicken recipe.
| Frying Oil | Smoke Point | Flavor Profile | Cost |
| Peanut Oil | 450°F (232°C) | Neutral with a very faint nutty flavor | $$ |
| Canola Oil | 400°F (204°C) | Completely neutral | $ |
| Vegetable Oil | 400°F (204°C) | Completely neutral | $ |
| Lard | 370°F (188°C) | Rich, savory flavor (the traditional choice) | $$ |
Oils to Avoid: Avoid oils with low smoke points like extra virgin olive oil or butter. They will burn and impart a bitter taste to your chicken. For more information on the science of cooking oils, check out this detailed guide from Serious Eats.
The Critical Importance of the Right Temp Oil for Fried Chicken
Let’s talk more about the temp oil for fried chicken. That 325°F (165°C) target isn’t arbitrary.
- If the oil is too hot (above 350°F): The crust will burn long before the inside of the chicken is cooked through. You’ll end up with a dark, almost burnt exterior and raw, unsafe meat on the inside.
- If the oil is too cold (below 300°F): The crust won’t crisp up quickly enough. Instead of creating a protective barrier, the coating will absorb oil like a sponge, leading to a heavy, greasy, and soggy result.
This is why a thermometer is non-negotiable for this easy fried chicken recipe. It’s the only way to guarantee you’re in that perfect frying zone.
The Moment of Truth: How to Know When Your Chicken is Perfectly Cooked
While visual cues like a golden-brown crust are helpful, the only way to be 100% certain your chicken is cooked and safe to eat is by using a thermometer. Poultry must reach a safe internal temperature to eliminate harmful bacteria.
According to the USDA’s food safety guidelines, all poultry should be cooked to a minimum internal temperature of 165°F (74°C).
- For breasts (white meat), pull them from the oil right at 165°F.
- For thighs and drumsticks (dark meat), you can actually cook them a little longer, to about 175-180°F (80-82°C). The higher fat content keeps them juicy, and this higher temperature helps break down more of the connective tissue, making them even more tender.
Top 5 Common Fried Chicken Mistakes (And How to Easily Avoid Them)
- Frying Cold Chicken: Adding ice-cold chicken straight from the fridge to the hot oil will cause the oil temp to drop dramatically. Let your chicken sit at room temperature for about 30 minutes before frying.
- Skipping the Thermometer: We’ve said it before, but it bears repeating. Guessing the oil temperature is the #1 reason for fried chicken failure.
- Crowding the Pan: This is the second biggest mistake. Frying in batches is essential. It might take a bit longer, but your patience will be rewarded with superior chicken.
- Fidgeting with the Chicken: Once you place the chicken in the pan, leave it alone! Let it form a solid crust before you try to move or flip it. Turning it too early can tear the coating off.
- Draining on Paper Towels: This creates a steamy environment that will instantly soften that beautiful crust you just worked so hard to create. Always use a wire rack.
Perfect Pairings: What to Serve with Your Homemade Fried Chicken
Now that you’ve mastered the main course, what do you serve with it? Here are some classic American pairings for your easy fried chicken recipe:
- Creamy Mashed Potatoes and Gravy
- Buttermilk Biscuits
- Coleslaw
- Macaroni and Cheese
- Corn on the Cob
- Collard Greens
Handling Leftovers: Storing and Reheating for Day-Two Deliciousness
If you’re lucky enough to have leftovers, store them in an airtight container in the refrigerator for up to 3-4 days.
The absolute best way to reheat fried chicken and bring back its crispiness is in the oven or an air fryer.
- Preheat your oven or air fryer to 375°F (190°C).
- Place the chicken on a wire rack on a baking sheet.
- Heat for 10-15 minutes, until the chicken is warmed through and the skin has re-crisped.
Avoid the microwave at all costs! It will turn that glorious crust into a soggy, rubbery mess.
Your Fried Chicken Journey Begins Now
You are now officially equipped with everything you need to make an absolutely incredible batch of fried chicken. This easy fried chicken recipe isn’t just about following steps; it’s about understanding the simple techniques that guarantee a delicious outcome. You’ve learned about the science of frying, the importance of temperature, and the simple tricks that pros use to get that perfect crunch every single time.
So go ahead, grab your skillet, and get ready to create a meal that will bring smiles to everyone at your table.
What’s the one side dish you absolutely must have with your fried chicken? Let us know in the comments below!
Frequently Asked Questions (FAQ) About Our Easy Fried Chicken Recipe
Q: Can I make this easy fried chicken recipe gluten-free? A: Yes! You can substitute the all-purpose flour with a good quality gluten-free all-purpose baking blend. Look for one that contains xanthan gum for the best results.
Q: Why is my fried chicken greasy and soggy? A: The most common culprit is the oil temperature being too low. If the oil isn’t hot enough, the crust absorbs oil instead of quickly crisping up. Use a thermometer to ensure your oil stays consistently between 300-325°F while frying. Overcrowding the pan can also cause the oil temperature to drop, so be sure to fry in batches.
Q: Can I use an air fryer for this recipe? A: While an air fryer makes a delicious and healthier version of “fried” chicken, it won’t replicate the deep, crunchy crust of traditional pan-fried chicken. To adapt this recipe for an air fryer, dredge the chicken as directed, then spray it generously on all sides with cooking oil spray. Air fry at 380°F (193°C) for about 20-25 minutes, flipping halfway through, until the internal temperature is 165°F and the coating is golden and crisp.
Q: How do I dispose of the used frying oil? A: Never pour hot oil down the drain! It can solidify and cause serious plumbing blockages. Allow the oil to cool completely in the pan. Then, pour it into a sealable, non-recyclable container (like an old milk jug or the original oil bottle) and dispose of it in your household trash.
Q: Can I reuse my frying oil? A: Yes, you can reuse frying oil a few times. After it has cooled completely, strain it through a fine-mesh sieve or cheesecloth to remove any food particles. Store it in a sealed container in a cool, dark place. The oil is ready to be discarded when it looks dark, smells rancid, or starts to smoke at lower temperatures.
For the Curious…
USDA Food Safety: “For more on ensuring your poultry is cooked safely, refer to the USDA’s food safety guidelines.”
Serious Eats on Cooking Fats: “For a deeper dive into the science of cooking oils and smoke points, check out this detailed guide from Serious Eats.”