

Have you ever bitten into a chicken wing, hoping for that earth-shattering crunch, only to be met with a soft, slightly greasy skin? It’s a culinary letdown we’ve all experienced. You’ve followed other recipes, but the results are never quite like the wings from your favorite sports bar—those perfectly crispy, incredibly juicy wings that have you reaching for just one more. What if I told you that restaurant-quality wings are not only achievable at home but are surprisingly simple to master?
This isn’t just another fried chicken wings recipe. This is your comprehensive guide to wing perfection. We’re going to dive deep into the science of the crunch, explore the secrets that chefs use, and give you a foolproof, step-by-step method that works every single time. We’ll even cover how to get that same incredible crispiness in your oven. Get ready to transform your kitchen into the best wing joint in town.
Key Takeaways
Pressed for time? Here are the absolute must-know secrets from this guide:
- Dryness is King: The number one enemy of crispy skin is moisture. Patting your wings completely dry and letting them air-chill in the fridge is the most crucial step.
- The Double Fry Method: Frying your wings twice—once at a lower temperature to cook them through and a second time at a higher temperature to crisp them up—is the gold standard for an unbeatable crunch.
- A Simple Dry Brine: Forget complicated marinades. A simple salt and spice mixture left on the wings for a few hours draws out moisture while deeply seasoning the meat.
- Baking Powder Isn’t Necessary: For amazing oven chicken wings, you don’t need baking powder. The secret to a crispy baked chicken wing without baking powder is a light coating of cornstarch and arranging them on a wire rack.
- Control Your Oil Temperature: Using a thermometer to maintain the correct oil temperature is non-negotiable for avoiding greasy, under-cooked, or burnt wings.
Why This Fried Chicken Wings Recipe is a Game-Changer
What separates a decent wing from a legendary one? It comes down to two things: texture and flavor. Most recipes focus on one or the other, but this method is engineered to deliver the best of both worlds. We’re talking about a shatteringly crisp exterior that gives way to tender, succulent meat bursting with flavor.
The Secret to Unbelievably Crispy Skin (Every Single Time)
The crispiness of a perfect fried chicken wing is a result of dehydration. When the wing hits the hot oil, the water in the skin rapidly turns to steam and evaporates, leaving behind a rigid, crunchy structure of proteins and rendered fat. Our recipe maximizes this effect in three ways:
- Surface Dehydration: We start by getting the wings as dry as possible before they ever see the fryer. A simple “dry brine” with salt pulls moisture out of the skin.
- The Starch Shield: A light coating of flour and cornstarch creates a porous, craggy surface that fries up into a super-crisp crust. It also protects the meat from overcooking.
- The Double Fry: This is the ultimate technique used by professionals. The first fry at a lower temperature (around 300°F) gently cooks the chicken and renders the fat from the skin. The second, shorter fry at a higher temperature (400°F) violently dehydrates the surface, creating that final, perfect crunch.
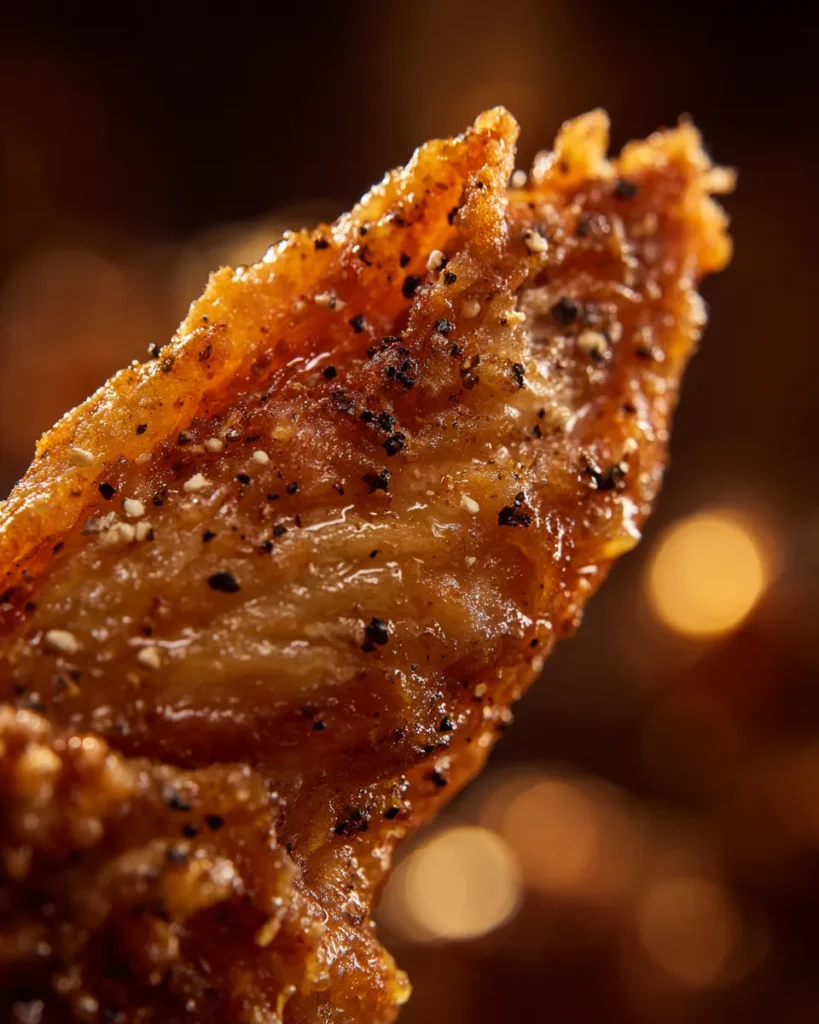
Juicy, Flavorful Meat: It’s All in the Prep
A crispy exterior is nothing without juicy meat inside. The dry-brining process isn’t just for crisping; it’s a flavor powerhouse. As the salt draws moisture out of the skin, it also penetrates deep into the meat, seasoning it from the inside out and helping it retain its natural juices during the violent heat of frying. This ensures every bite is as flavorful as it is crispy.
The Great Debate: To Brine or Not to Brine?
Brining is the process of treating meat with salt before cooking. It’s a fundamental step that can dramatically improve both the flavor and texture of your finished fried chicken wings. There are two main methods: dry brining and wet brining. For this recipe, we champion the dry brine.
The Power of a Dry Brine for Crispy Skin
A dry brine is simply a mixture of salt, and optionally other spices, rubbed directly onto the surface of the meat.
How it works:
- Osmosis in Action: Initially, the salt draws moisture out of the chicken skin onto the surface.
- Flavor Infusion: This surface moisture dissolves the salt and spices, creating a concentrated brine.
- Reabsorption: Over time, the meat reabsorbs this flavorful brine.
Why it’s better for fried wings: The primary benefit is that the process leaves the surface of the skin very dry, which is exactly what we want for achieving maximum crispiness in the fryer. It seasons the wing perfectly without adding any extra water that would have to be cooked off.
When a Wet Brine Makes Sense
A wet brine involves submerging the chicken in a saltwater solution. While excellent for roasting a whole turkey or chicken breasts to ensure they stay moist, it’s counterproductive for a fried chicken wings recipe. The wings absorb water, which is the mortal enemy of crispy skin. You’d spend the first few minutes in the fryer just steaming off that excess water, resulting in a less crispy, often tougher wing.
Essential Equipment for Your Fried Chicken Wings Recipe
You don’t need a professional kitchen, but a few key pieces of equipment will make the process safer and more successful.
- A Heavy-Bottomed Pot or Dutch Oven: These hold heat evenly, preventing drastic temperature drops when you add the wings. A 5-quart pot is a good size.
- A Deep-Fry/Candy Thermometer: This is the most important tool. Frying is all about temperature control. Guessing is a recipe for disaster.
- Tongs: For safely adding, turning, and removing wings from the hot oil.
- Wire Rack and Baking Sheet: Essential for letting the wings rest after both the first and second fry. This allows air to circulate, keeping the bottom from getting soggy, and lets excess oil drip off.
- Large Mixing Bowls: One for seasoning the raw wings and another for tossing them in the sauce.
- Spider Strainer or Slotted Spoon: For scooping out multiple wings at once.
Master fried chicken with our complete guide
Ingredient Breakdown: The Building Blocks of Flavor
The beauty of a great fried chicken wings recipe is its simplicity. It’s all about quality ingredients and proper technique.
Choosing Your Chicken Wings: Flats vs. Drumettes
A whole chicken wing is made of three parts: the drumette, the flat (or wingette), and the tip. For this recipe, you’ll want “party wings,” which are already separated into drumettes and flats with the tips removed.
- Drumettes: Look like miniature drumsticks. They have more meat but also more cartilage.
- Flats: Are, well, flat. They have less meat, but the skin-to-meat ratio is higher, leading to a crispier result.
Most people have a preference, but a mix of both is perfect for a crowd. The most important thing is to buy air-chilled chicken if you can find it. It contains less added water than standard water-chilled chicken, giving you a head start on dryness.
The Coating: Flour, Starch, and Spices
The perfect coating, or dredge, should be light enough to let the skin shine through but substantial enough to create a craggy, crispy crust.
- All-Purpose Flour: Provides the structure for the crust.
- Cornstarch: This is the secret weapon for crunch. Cornstarch inhibits gluten development in the flour, resulting in a lighter, crispier, and more delicate crust that stays crispy longer.
- Spices: We’re keeping it classic. Salt, black pepper, garlic powder, and paprika. This simple blend seasons the coating and gives the wings a beautiful golden-red hue.
The Best Oil for Frying Chicken Wings
The ideal frying oil has a high smoke point (the temperature at which it starts to break down and smoke) and a neutral flavor. You’ll need about 48 ounces (1.5 quarts) to fill a standard Dutch oven.
| Oil Type | Smoke Point | Flavor Profile | Pros | Cons |
| Peanut Oil | 450°F (232°C) | Neutral, slightly nutty | High smoke point, classic frying choice | Potential allergen |
| Canola Oil | 400°F (204°C) | Neutral | Inexpensive, widely available | Can sometimes impart a slight fishy smell |
| Vegetable Oil | 400°F-450°F (204°C-232°C) | Neutral | Affordable, accessible | A blend, so properties can vary |
| Lard | 375°F (190°C) | Rich, savory | Incredibly flavorful results | Not neutral, lower smoke point |
Our Top Pick: Peanut oil is the gold standard for its high smoke point and clean taste. Canola or vegetable oil are excellent, budget-friendly alternatives.
Leftover wings? reheat them without losing the crunch
The Ultimate Fried Chicken Wings Recipe (Step-by-Step)
This recipe is designed for 3 pounds of party wings, which will serve about 4-6 people as an appetizer.
Yields: 4-6 servings Prep time: 20 minutes Cook time: 25 minutes Chill time: 4 hours (or up to 24 hours)
Ingredients:
- 3 lbs chicken party wings (drumettes and flats)
- 1 tablespoon kosher salt
- 1 teaspoon black pepper
- 1 teaspoon garlic powder
- 1 teaspoon paprika
- 1 cup all-purpose flour
- ½ cup cornstarch
- 48 oz (1.5 quarts) neutral frying oil (like peanut or canola)
- Your favorite wing sauce for tossing (see recipes below)
Step 1: Prep and Dry-Brine the Wings
- Dry the Wings: Open the package of wings and pat them thoroughly dry with paper towels. I mean bone dry. This is the most critical step.
- Combine Spices: In a small bowl, mix the kosher salt, black pepper, garlic powder, and paprika.
- Season: Place the dry wings in a large bowl and toss them with the spice mixture until every wing is evenly coated.
- Air-Chill: Arrange the seasoned wings in a single layer on a wire rack set inside a baking sheet. Place them in the refrigerator, uncovered, for at least 4 hours, or ideally overnight (up to 24 hours). This process further dries out the skin, guaranteeing a crispy finish.
Step 2: Prepare Your Dredging Station and Oil
- Heat the Oil: Pour your oil into a large, heavy-bottomed pot or Dutch oven. The oil should be at least 2 inches deep. Attach a deep-fry thermometer to the side of the pot. Heat the oil over medium-high heat until it reaches 300°F (150°C).
- Prepare the Dredge: While the oil heats up, whisk together the all-purpose flour and cornstarch in a large bowl.
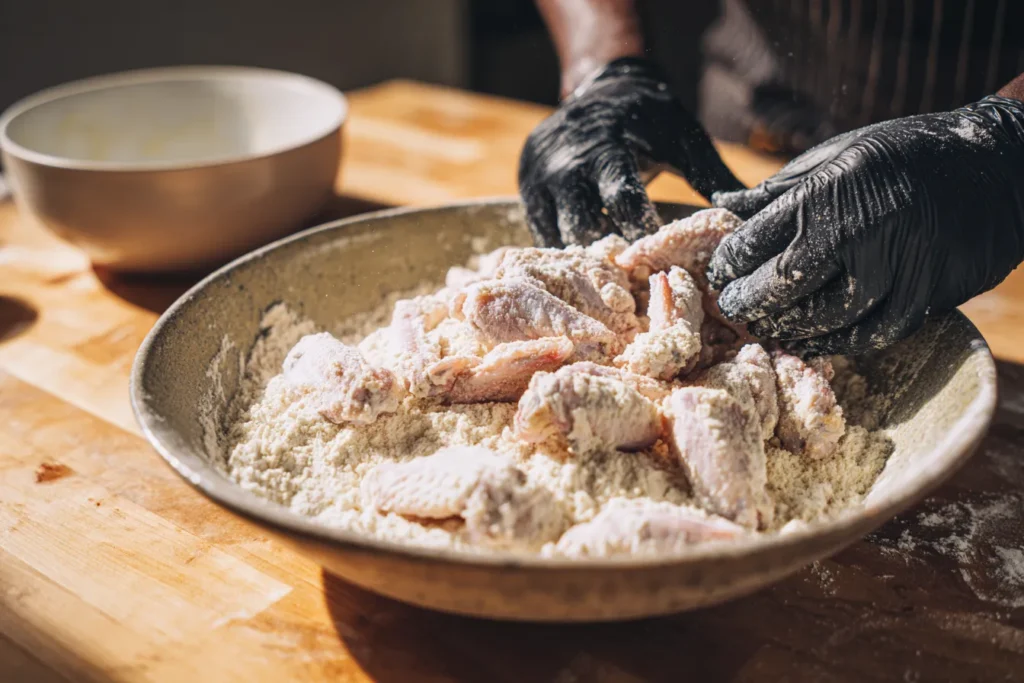
- Coat the Wings: Take the chilled wings from the fridge. Working in batches, toss them in the flour mixture until lightly coated. Shake off any excess; a thin, even coating is what you want.
Step 3: The First Fry (The Blanching Fry)
- Fry in Batches: Once the oil is at 300°F, carefully add about one-third of the coated wings to the pot using tongs. Don’t overcrowd the pot, as this will drop the oil temperature too much.
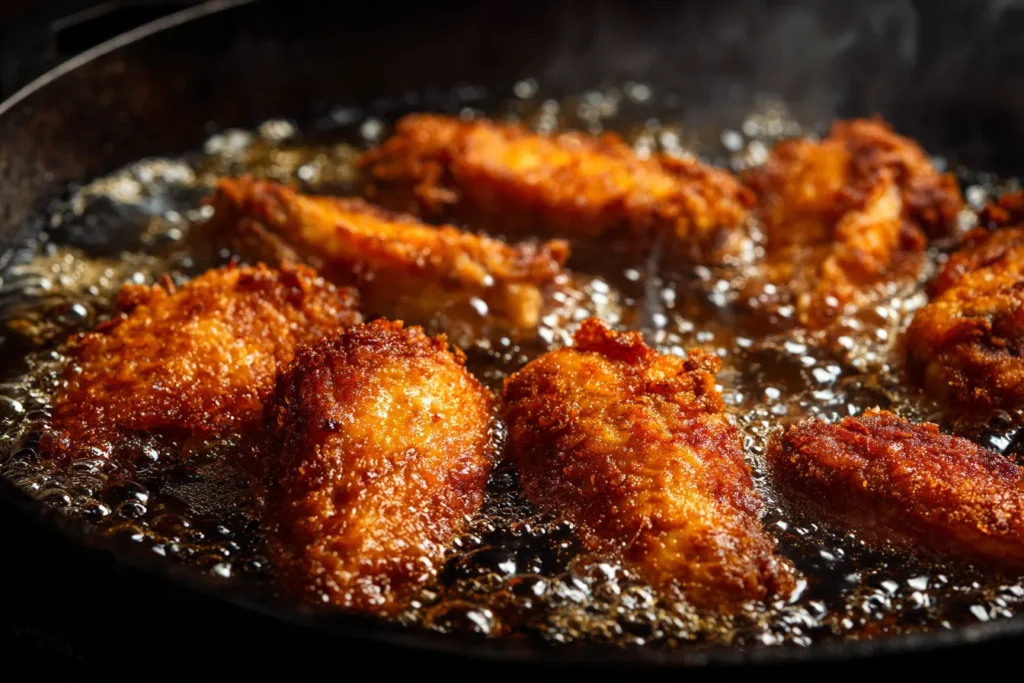
- Cook Through: Fry for 10-12 minutes, turning occasionally, until the wings are cooked through and a very light golden brown. They will not be crispy at this stage.
- Rest and Repeat: Remove the wings from the oil and place them on a clean wire rack to drain and rest. Allow the oil to come back up to 300°F before adding the next batch. Repeat until all wings are cooked. At this point, you can pause for up to 2 hours before the final fry if making them ahead.
Step 4: The Second Fry (The Crisping Fry)
- Increase Oil Temp: Increase the heat and bring your oil up to a shimmering 400°F (200°C).
- Fry for Crispiness: Again, working in batches, carefully place the rested wings back into the hot oil. Fry for another 3-5 minutes, until they are deeply golden brown, audibly crispy, and sizzling vigorously. According to the USDA, chicken should be cooked to an internal temperature of 165°F. The first fry will have already accomplished this; this second fry is all about the crust.
- Drain Again: Remove the wings from the oil and place them back on the wire rack to let the excess oil drip off for about a minute.
Step 5: Drain, Season, and Sauce
- Immediate Seasoning: As soon as the wings come out of the final fry, sprinkle them with a little extra salt while they’re still hot.
- Sauce ‘Em Up: Place the hot, crispy wings in a large, clean bowl. Pour your desired amount of sauce over the top and toss gently to coat. Serve immediately for the best texture.
The Oven-Baked Method: A Crispy, Hands-Off Alternative
Don’t want to deal with a big pot of hot oil? You can still achieve an incredibly satisfying crunch with this baked chicken wings oven recipe. The technique is slightly different, but the results are fantastic.
The Secret to Crispy Baked Chicken Wings Without Baking Powder
Many recipes for oven chicken wings call for tossing the wings in baking powder to achieve a crispy skin. Baking powder works by raising the pH level of the skin, which helps it brown and crisp more efficiently. However, some people can detect a faint metallic taste.
Our method for making crispy baked chicken wings without baking powder relies on the same principles as frying: dryness and a starchy coating. We use cornstarch to create that crispy, protective layer.
How Long to Cook Chicken Wings in Oven at 400°F
The key to crispy oven wings is a two-temperature approach. We start low to render the fat and then blast it with high heat to crisp the skin.
| Oven Temperature | Cooking Time | Purpose |
| 300°F (150°C) | 25 minutes | Gently cooks the meat and renders fat from the skin |
| 425°F (220°C) | 20-25 minutes | Crisps and browns the skin to perfection |
Total cook time is about 45-50 minutes. Remember to flip the wings halfway through for even cooking.
Step-by-Step Baked Oven Chicken Wings
- Preheat and Prep: Position your oven racks in the upper-middle and lower-middle positions and preheat to 300°F (150°C). Line a baking sheet with foil (for easy cleanup) and place an oven-safe wire rack on top.
- Dry and Coat: Pat 3 lbs of party wings completely dry with paper towels. In a large bowl, toss the wings with 1 tablespoon of olive oil, 1 tablespoon of cornstarch, 1 tablespoon of kosher salt, and 1 teaspoon each of black pepper, garlic powder, and paprika.
- Arrange: Place the coated wings in a single layer on the wire rack, making sure they don’t touch.
- First Bake (Low and Slow): Bake for 25 minutes on the lower-middle rack.
- Second Bake (Hot and Fast): Increase the oven temperature to 425°F (220°C). Move the baking sheet to the upper-middle rack. Bake for another 20-25 minutes, flipping the wings halfway through, until they are deep golden brown and crispy.
- Rest and Sauce: Let the wings rest for 5 minutes before tossing them in your favorite sauce.
This method is a game-changer for anyone looking for a healthier, less messy, but still delicious fried chicken wings recipe alternative.
Sauce Science: The Perfect Finish for Your Wings
A wing is not complete without its sauce. While you can buy bottled sauce, making your own is incredibly easy and tastes so much better. Always sauce your wings when they are hot, as this helps the sauce adhere better.
Classic Buffalo Sauce (3 Ingredients)
This is the iconic wing sauce. It’s tangy, spicy, and rich.
- ½ cup Frank’s RedHot Original Cayenne Pepper Sauce (or similar cayenne pepper sauce)
- 4 tablespoons unsalted butter, melted
- 1 tablespoon honey or maple syrup (optional, for balance)
Instructions: In a bowl, whisk together the hot sauce and melted butter until fully emulsified. Whisk in the honey if using.
Honey Garlic Sauce
A sweet, savory, and sticky favorite.
- ½ cup soy sauce
- ⅓ cup honey
- 4 cloves garlic, minced
- 1 tablespoon cornstarch mixed with 2 tablespoons cold water (a “slurry”)
Instructions: In a small saucepan, combine soy sauce, honey, and garlic. Bring to a simmer over medium heat. Whisk in the cornstarch slurry and cook for 1-2 minutes until the sauce has thickened enough to coat the back of a spoon.
Lemon Pepper Dry Rub
For a zesty, non-saucy option, toss the hot wings in this dry rub instead.
- Zest of 2 lemons
- 2 tablespoons freshly cracked black pepper
- 1 tablespoon kosher salt
Instructions: Combine all ingredients. Toss with the hot, un-sauced wings immediately after they come out of the fryer or oven.
Perfect Pairings: What to Serve with Your Wings
Wings are the star, but every star needs a supporting cast.
- Cooling Dips: Classic blue cheese or ranch dressing is a must to cool the palate.
- Crisp Veggies: Celery and carrot sticks provide a refreshing, crunchy contrast.
- Starches: A side of crispy french fries, tater tots, or onion rings makes it a truly satisfying meal.
- A Cold Drink: A crisp, cold lager or pilsner is the perfect beverage to cut through the richness of a fried chicken wings recipe.
Storing and Reheating Leftover Wings Like a Pro
If you somehow have leftovers, don’t let them go to waste. The key to reheating is to bring back the crispiness without drying them out.
- Storage: Store leftover wings in an airtight container in the refrigerator for up to 3 days. It’s best to store them unsauced if possible.
- Reheating: The oven or an air fryer is your best friend.
- Oven Method: Preheat your oven to 375°F (190°C). Place the wings on a wire rack set on a baking sheet and bake for 10-15 minutes, or until heated through and re-crisped.
- Air Fryer Method: Preheat your air fryer to 375°F (190°C). Cook the wings for 5-8 minutes, shaking the basket halfway through.
Avoid the microwave at all costs! It will turn that beautiful crispy skin into a soggy, rubbery mess.
Pro Tips & Troubleshooting Common Wing Woes
- “My wings aren’t crispy!” The likely culprit is moisture or incorrect oil temperature. Make sure your wings are bone-dry before coating, and use a thermometer to ensure your oil is hot enough. Don’t overcrowd the pan.
- “My wings are greasy.” This is almost always due to the oil temperature being too low. When the oil isn’t hot enough, the wing absorbs the oil instead of being flash-cooked by it. To learn more about the physics of frying, check out this great article from Serious Eats.
- “My coating fell off.” This can happen if the coating is too thick or if you move the wings around too much in the first few minutes of frying. Let the crust set before you start turning them.
- “Can I use an air fryer?” Absolutely! An air fryer is essentially a small convection oven. Follow the oven-baked recipe, but cook at 400°F for about 20-25 minutes, flipping halfway through.
Conclusion: Your Journey to Wing Mastery
You are now armed with all the knowledge you need to create truly spectacular wings at home. We’ve demystified the process, from the importance of a dry brine to the magic of the double fry and the secrets behind a perfect baked chicken wings oven recipe. This isn’t just about following steps; it’s about understanding the “why” behind the technique. By mastering the fundamentals of moisture control, temperature management, and proper coating, you can leave soggy, disappointing wings in the past.
You have the ultimate fried chicken wings recipe, the tips, and the techniques. It’s time to heat up that oil, gather your friends, and claim your title as a true wing master.
What’s your all-time favorite sauce or dry rub for chicken wings? Share your go-to flavors in the comments below!
Frequently Asked Questions (FAQ)
Q1: What’s the best oil for a fried chicken wings recipe? A: The best oils have a high smoke point (above 400°F) and a neutral flavor. Peanut oil is considered the gold standard for its clean taste and high heat tolerance. However, more affordable options like canola, vegetable, or grapeseed oil are also excellent choices for getting crispy, non-greasy results.
Q2: Why are my chicken wings not crispy? A: The most common reason for soggy wings is moisture. You must pat the raw wings completely dry with paper towels before seasoning. The second biggest culprit is low oil temperature. If the oil isn’t hot enough (at least 375°F-400°F for the final fry), the wings will absorb oil instead of crisping up. Lastly, overcrowding the pot will cause the oil temperature to drop dramatically, leading to steaming instead of frying.
Q3: Can I make these fried chicken wings ahead of time? A: Yes! This recipe is perfect for making ahead. You can perform the first fry (at 300°F) up to 2-3 hours in advance. Let the wings rest on a wire rack at room temperature. When you’re ready to serve, heat the oil to 400°F and perform the second, final fry for 3-5 minutes to get them hot and super crispy.
Q4: Do I really need to use a thermometer? A: Yes, it is highly recommended. Frying is all about precise temperature control. A deep-fry thermometer is the only way to know for sure that your oil is at the correct temperature for both the initial cook and the final crisping fry. It’s the single best tool to guarantee consistently perfect results and avoid greasy or burnt wings.
Q5: Can I use frozen chicken wings for this recipe? A: It is strongly advised to thaw frozen wings completely before starting this recipe. Frying frozen wings is dangerous as the ice can cause the hot oil to splatter violently. Thaw them in the refrigerator overnight for the best and safest results, then pat them extremely dry before proceeding with the recipe.
About Chef Tony Romano
Chef Tony Romano is a graduate of the Culinary Institute of America with over 15 years of experience in professional kitchens, specializing in classic American comfort food. After leading the teams at several acclaimed gastropubs in Chicago, he now focuses on teaching home cooks how to create restaurant-quality dishes with confidence and ease.