
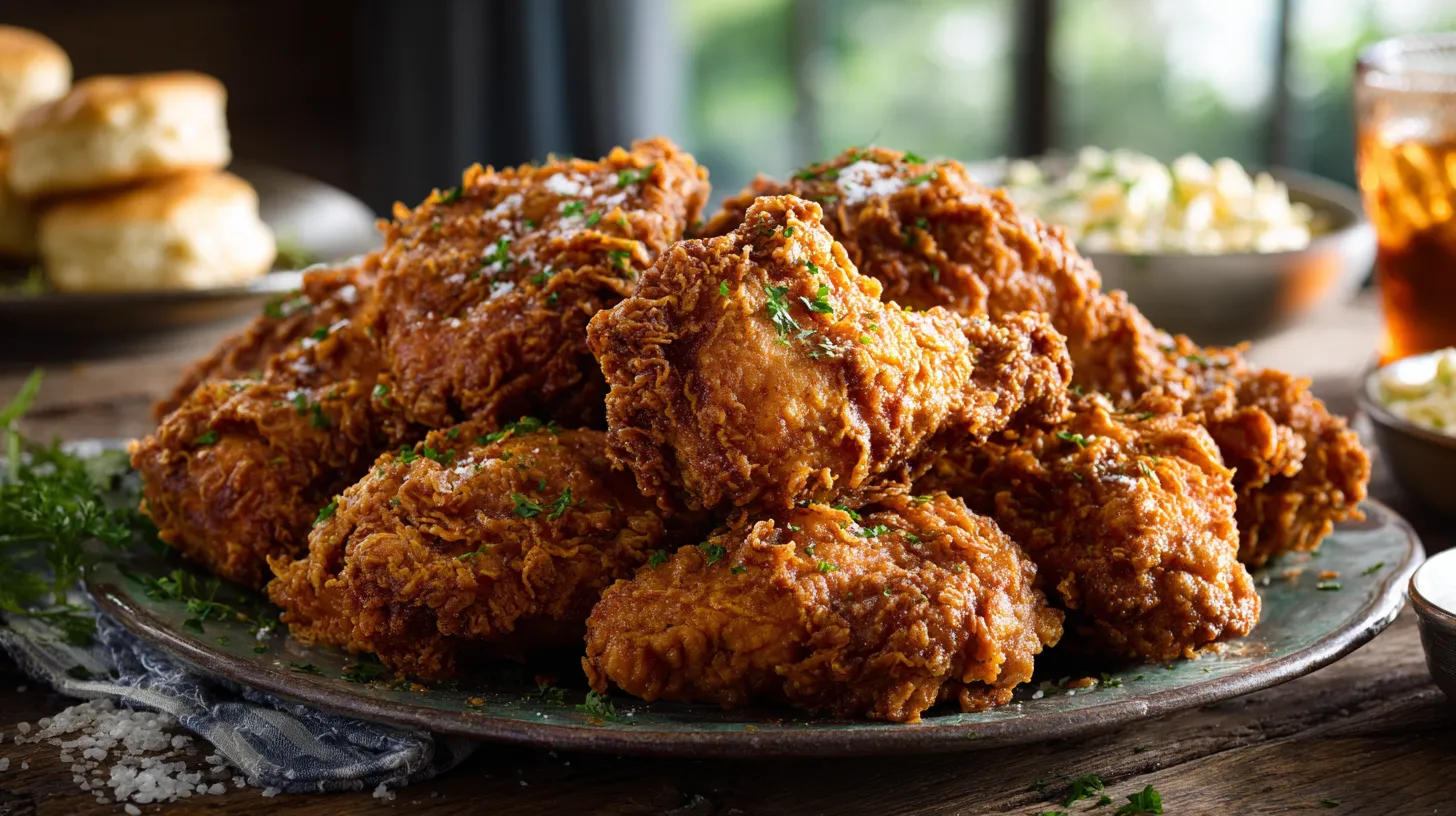
There are few foods as universally loved and deeply satisfying as a perfectly cooked piece of fried chicken. That symphony of a shatteringly crisp, seasoned crust giving way to succulent, juicy meat is a culinary experience that transcends cultures and generations. But for many home cooks, achieving that restaurant-quality perfection can feel like an elusive mystery. The chicken is soggy, the crust falls off, it’s burnt on the outside and raw on the inside—the pitfalls are many.
Fear not. This is your definitive guide to mastering the art and science of fried chicken. We are going to demystify the entire process, from the foundational science of brining to the precise art of frying. Whether you’re looking for a simple fried chicken recipe for a weeknight dinner or aiming to replicate a world-famous style, you’ll find everything you need right here.
This guide will provide you with a master fried chicken recipe that serves as a perfect starting point, alongside deep dives into techniques, ingredient variations, and troubleshooting tips to ensure your every attempt is a resounding success. Get ready to make the best fried chicken recipeof your life.
The Foundation of Flavor: Prepping Your Chicken for Perfection
Before you even think about flour or oil, the journey to incredible fried chicken begins with two crucial choices: the cut of chicken and the method of preparation. Skipping these steps is like building a house on a weak foundation—it’s bound to crumble.
Choosing the Best Cut of Chicken
While you can fry almost any part of the chicken, different pieces offer different experiences. Understanding their unique characteristics will help you tailor your cook to your preferences.
- Thighs: For many connoisseurs, the thigh is the pinnacle of fried chicken. Its higher fat content means it stays incredibly moist and succulent, even if slightly overcooked. The rich, flavorful dark meat is forgiving and packed with taste.
- Drumsticks: A classic for a reason. Easy to eat, juicy, and fun, drumsticks are a family favorite. Like thighs, they are dark meat and very forgiving to cook.
- Wings: The ultimate snack food, wings offer the highest ratio of crispy skin to meat. They cook quickly and are perfect for tossing in sauces after frying.
- Breasts: The leanest cut, chicken breasts can be tricky. They are prone to drying out if overcooked. However, when prepared correctly—especially with a good brine—a fried chicken recipe can yield an incredibly tender and juicy result. It’s often best to cut large breasts into smaller pieces or tenders for more even cooking.
Pro-Tip: For the most consistent results, try to fry pieces of similar size and type together. Cooking a large breast alongside a small wing will lead to one being overcooked or the other undercooked. If frying a whole, broken-down chicken, start with the larger, dark meat pieces (thighs and drumsticks) first, as they take longer to cook.
The Science of the Brine: A Non-Negotiable Step for Juicy Chicken
If you take only one thing away from this guide, let it be this: brine your chicken. This single step is the most effective way to guarantee your fried chicken is seasoned from within and unbelievably juicy.
A brine is simply a solution of salt and water. When you submerge chicken in a brine, a process called osmosis begins. The chicken meat has a lower salt concentration than the brine, so the salty water flows into the meat. This does two magical things:
- It Seasons the Meat: The salt penetrates deep into the muscle, seasoning the chicken from the inside out.
- It Increases Moisture: The salt causes the muscle proteins to denature, or unwind. This allows them to trap more water, creating a buffer that keeps the chicken juicy and moist even when exposed to the high heat of frying.
Wet Brining vs. Dry Brining
Wet Brine (The Classic Method): This involves dissolving salt and often sugar in water and submerging the chicken in the solution.
- Basic Wet Brine Ratio: Use about 1 tablespoon of kosher salt and 1 tablespoon of sugar per cup of water. Ensure you make enough to fully submerge all your chicken pieces.
- How to Do It:
- Combine water, kosher salt, sugar, and any other aromatics you like (peppercorns, bay leaves, smashed garlic cloves, thyme) in a large pot.
- Heat gently, stirring until the salt and sugar are fully dissolved.
- Let the brine cool completely to room temperature, then chill it in the refrigerator. Never put raw chicken in a warm brine.
- Submerge your chicken pieces in the cold brine, ensuring they are fully covered.
- Refrigerate for at least 4 hours, or up to 24 hours for a whole broken-down chicken.
- After Brining: Remove the chicken from the brine and pat it extremely dry with paper towels. This is a critical step; a wet surface will steam in the hot oil, preventing a crispy crust from forming.
Dry Brine (The Simpler Method): A dry brine, or “curing,” involves simply rubbing the salt mixture directly onto the chicken and letting it rest. It’s less messy and arguably creates a more concentrated chicken flavor.
- How to Do It:
- Create a mixture of kosher salt, sugar (optional), black pepper, and other spices like paprika or garlic powder.
- Pat your chicken pieces completely dry.
- Generously sprinkle the salt mixture over every surface of the chicken, rubbing it in gently.
- Place the chicken on a wire rack set over a baking sheet. This allows air to circulate.
- Refrigerate, uncovered, for at least 4 hours or up to 24 hours. The uncoverd rest also helps to dry out the skin, leading to a crispier finish.
- After Brining: There’s no need to rinse. Simply proceed to the breading step.
The Secret to a Perfect Crust: Mastering the Breading
The breading is the armor of your fried chicken. It’s responsible for that glorious crunch, the beautiful golden-brown color, and sealing in all the juices. The components of your dredge and batter are critical to the final texture.
The Classic: All-Purpose Flour Breading
The most traditional coating for a classic southern fried chicken recipe is simple, seasoned all-purpose flour. It creates a substantial, craggy, and deeply flavorful crust.
- Why it Works: The gluten in wheat flour provides structure, creating a sturdy crust that holds up well.
- How to Use It: The key is seasoning. Don’t be shy. For every cup of all-purpose flour, add at least 1-2 teaspoons of salt, 1 teaspoon of black pepper, and generous amounts of paprika, garlic powder, and onion powder.
- For Extra Crags: After dipping your chicken in the wet binder (like buttermilk or egg), let it sit in the flour dredge for a few minutes. Press the flour firmly onto the chicken. For even more texture, drizzle a few tablespoons of your wet binder into the dry flour mixture and toss with your fingers to create little clumps. These clumps will stick to the chicken and fry up into ultra-crispy bits.
For Ultimate Crunch: Panko, Cornflakes, and Beyond
If your goal is a shatteringly crisp, light-but-loud crunch, look beyond simple flour.
- Panko Breadcrumbs: These Japanese-style breadcrumbs are made from crustless bread and are dried to have a jagged, airy texture. They absorb less oil than traditional breadcrumbs, resulting in a lighter, crunchier coating. They are fantastic for a crispy fried chicken recipe.
- Cornflakes: The secret weapon for an unbelievably crunchy crust. Crush them up (not to a powder, but to small, coarse pieces) and mix them into your flour dredge or use them as the final coating. The sugar content helps them brown beautifully.
- Cornmeal: Adding a bit of fine or medium-grind cornmeal to your flour dredge adds a distinct, sandy crunch and a lovely flavor, often found in Southern-style recipes.
The Light & Crispy Option: Cornstarch and Rice Flour
For a crust that is delicate, thin, and incredibly crisp—think of the style found in many Asian fried chicken recipes—starches are the key.
- Cornstarch: This is the undisputed king of crispiness. Cornstarch fries up into a brittle, light, and airy crust. Using it alone can sometimes be a bit one-dimensional in flavor. The best approach is often a blend. A 50/50 mix of all-purpose flour and cornstarch is a fantastic starting point for a crust that is both substantial and supremely crispy.
- Rice Flour: Similar to cornstarch, rice flour creates a very light and crisp coating that is also naturally gluten-free. It’s a staple in many Asian cuisines for this very reason.
A Note on Seasoning
Your flour dredge is your primary opportunity to infuse the crust with flavor. A bland crust will ruin even the juiciest chicken. Start with the “holy trinity” of fried chicken recipe seasoning: salt, black pepper, and paprika (for color and mild flavor). From there, build your profile:
- Garlic Powder & Onion Powder: Add deep, savory, aromatic notes.
- Cayenne Pepper: For a touch of heat.
- Dried Herbs: Thyme, oregano, or sage can add a lovely herbaceous complexity.
The No-Buttermilk, No-Egg Challenge: Delicious Alternatives
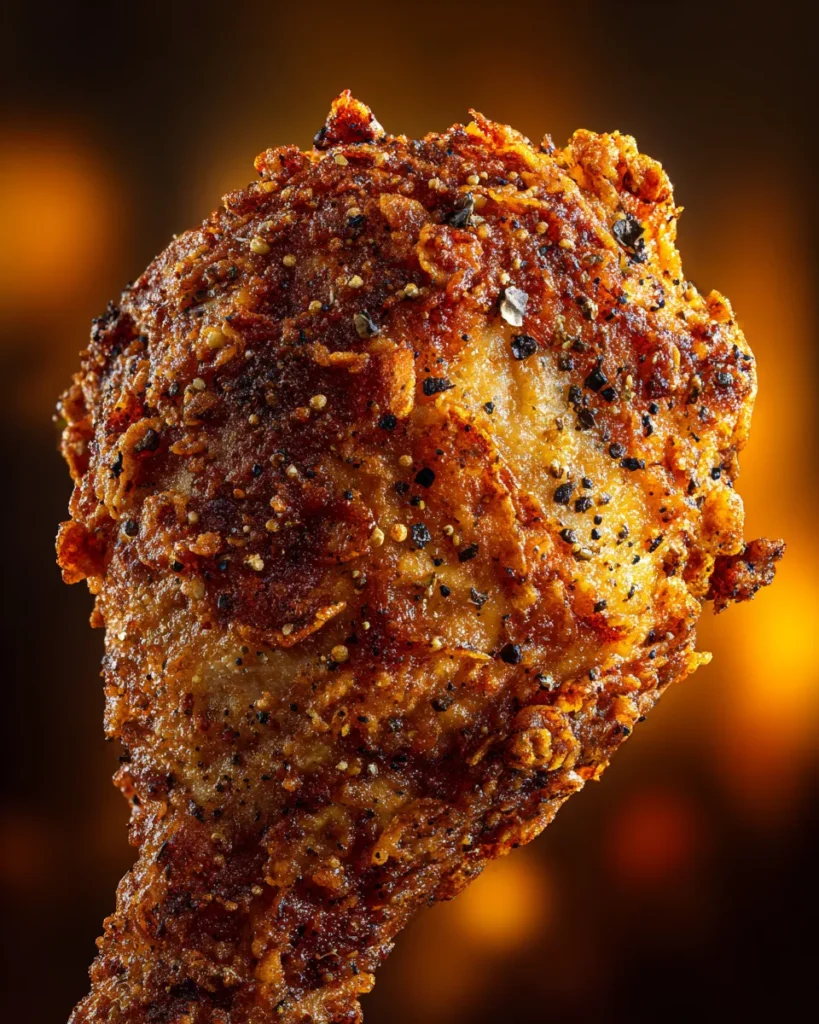
The classic fried chicken process involves a dredge in flour, a dip in a liquid binder, and a final coat in flour. This liquid binder is typically buttermilk or an egg wash. But what if you don’t have them or can’t use them? No problem.
How to Make a Fried Chicken Recipe Without Buttermilk
Buttermilk is prized for its acidity, which helps tenderize the chicken, and its thickness, which helps the flour coating adhere. If you don’t have it, you have several excellent options:
- DIY “Clabbered” Milk: This is the best substitute. Simply add 1 tablespoon of lemon juice or white vinegar to 1 cup of regular milk. Let it sit for 5-10 minutes. It will curdle slightly and mimic the acidity and thickness of buttermilk.
- Yogurt or Kefir: Thin plain yogurt or kefir with a little milk or water until it reaches the consistency of buttermilk. Their tangy, acidic nature works beautifully.
- Evaporated Milk: This pantry staple is slightly thicker than regular milk and works surprisingly well as a binder. It adds a subtle richness.
- Pickle Juice: For a flavor twist, the brine from a jar of pickles can be used. It acts as both a brine and a tenderizer. This is a popular technique for chicken sandwiches.
Crafting a Fried Chicken Recipe Without Eggs
Eggs provide protein and fat that help the breading stick and brown. If you need to make fried chicken recipe without them, focus on a thick liquid binder.
- Buttermilk or “Clabbered” Milk: These are thick enough on their own to do the job well. After brining and drying your chicken, simply dip it in the buttermilk and then into the seasoned flour.
- Yogurt or Sour Cream: A thinned-out yogurt or sour cream mixture works wonders.
- Mustard: A thin layer of prepared yellow or Dijon mustard can be brushed onto the chicken before dredging. It acts as a fantastic binder and adds a tangy flavor.
Going Gluten-Free: A Simple Fried Chicken Recipe Without Flour
Making delicious fried chicken recipe without traditional wheat flour is easier than ever.
- Cornstarch & Rice Flour: As mentioned earlier, a blend of these two creates a wonderfully light and crispy gluten-free crust. A 1:1 ratio is a great place to start.
- Almond Flour or Other Nut Flours: For a low-carb, keto-friendly option, almond flour can be used. It creates a denser, nuttier crust. Season it heavily and be aware that it can brown faster due to the higher fat content.
- Crushed Pork Rinds: The ultimate keto hack. Pulverize pork rinds in a food processor to create a “flour” that fries up incredibly crunchy and is packed with savory flavor.
The Art of Frying: Techniques for Flawless Results
This is where the magic happens. Your choice of frying method, oil, and especially temperature will make or break your chicken.
Pan-Frying vs. Deep-Frying: Which is Right for You?
Pan-Frying: This is the classic, accessible method for home cooks.
- How it Works: Oil is added to a heavy-bottomed skillet (like cast iron) to a depth of about ½ to 1 inch, enough to come halfway up the sides of the chicken. The chicken is cooked for several minutes on each side until golden and cooked through.
- Pros: Uses less oil, feels less intimidating, and the fond (browned bits) left in the pan can be used to make a delicious gravy. This is the best way to learn how to fry chicken in a pan with oil.
- Cons: Requires more attention as you have to flip the chicken. It can be messier due to splatter. Temperature regulation is more challenging.
Deep-Frying: This method involves fully submerging the chicken in a large pot or deep fryer filled with hot oil.
- Pros: Cooks the chicken more evenly and quickly. The high volume of oil maintains a more stable temperature. It’s a more “set it and forget it” method (though you should never truly forget it).
- Cons: Requires a lot of oil, which can be expensive and difficult to dispose of. Requires a dedicated deep fryer or a large, heavy pot and a thermometer.
For most beginners, a heavy cast-iron skillet is the perfect tool to start with.
Choosing the Right Oil
The ideal frying oil has two key characteristics: a high smoke point and a neutral flavor. The smoke point is the temperature at which an oil begins to break down and smoke, imparting a bitter, burnt flavor to your food.
- Excellent Choices: Peanut Oil, Canola Oil, Vegetable Oil, Shortening, Lard. These have high smoke points (above 400∘F / 204∘C) and neutral flavors. Lard and shortening are traditional in Southern cooking and can add a subtle, savory richness.
- Avoid: Extra Virgin Olive Oil. It has a low smoke point and a strong flavor that will overpower the chicken.
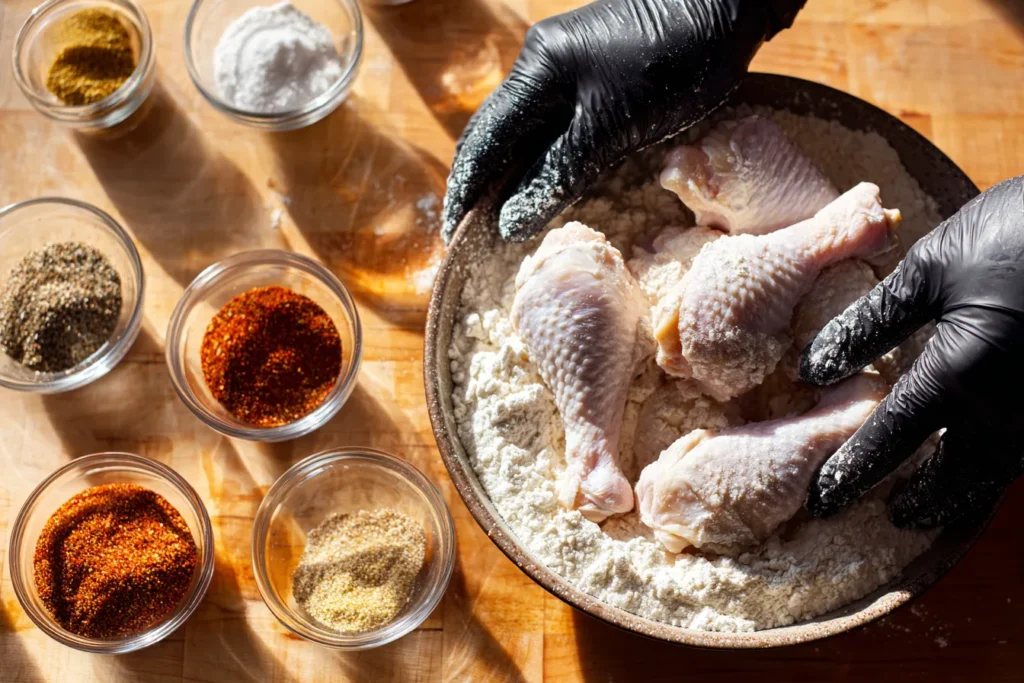
The Golden Rule: Temp Oil Fried Chicken Recipe is the Only Way
The single most important variable in frying is oil temperature. Too low, and the crust will absorb oil and become greasy and soggy. Too high, and the crust will burn before the inside is cooked.
The magic temperature range is 325∘F to 350∘F (163∘C to 177∘C).
- Invest in a Thermometer: Do not guess. An instant-read digital thermometer or a clip-on candy/fry thermometer is an essential, non-negotiable tool.
- How to Manage Temperature:
- Heat your oil over medium-high heat.
- Once it reaches around 360∘F (182∘C), carefully add your first few pieces of chicken. Don’t overcrowd the pan! This is the #1 mistake. Overcrowding dramatically drops the oil temperature.
- The oil temperature will immediately drop. Your goal is to adjust the stove’s heat to maintain a steady temperature in the 325∘F to 335∘F (163∘C to 168∘C) range as the chicken cooks.
- Let the chicken fry undisturbed on the first side to form a solid crust before flipping.
Internal Temperature for Doneness: The only way to know for sure if your chicken is cooked is to check its internal temperature. Chicken is safe to eat when it reaches 165∘F (74∘C). Check the thickest part of the meat, avoiding the bone.
The Core Recipe: A Simple, Perfect Fried Chicken Recipe
This foundational recipe is your starting point. Master this, and you can adapt it with any of the techniques discussed in this guide. This is the ultimate simple fried chicken recipe.
Yields: 4-6 servings Prep time: 20 minutes (plus 4-12 hours brining time) Cook time: 20-25 minutes
Ingredients:
- 3-4 lbs bone-in, skin-on chicken pieces (thighs, drumsticks, wings)
- For the Wet Brine:
- 4 cups water
- ¼ cup kosher salt
- ¼ cup granulated sugar (optional)
- For the Dredge:
- 2 cups all-purpose flour
- ½ cup cornstarch
- 2 tbsp paprika
- 2 tbsp garlic powder
- 1 tbsp black pepper, freshly ground
- 1 tbsp onion powder
- 2 tsp cayenne pepper (or to taste)
- 4 tsp kosher salt
- For the Wet Binder:
- 1 ½ cups buttermilk
- For Frying:
- 48 oz (about 6 cups) neutral oil with a high smoke point (peanut, canola)
Instructions:
- Brine the Chicken: In a large bowl, whisk together the water, kosher salt, and sugar until fully dissolved. Add the chicken pieces, ensuring they are submerged. Cover and refrigerate for at least 4 hours or overnight.
- Prepare the Dredge and Binder: In a large, shallow dish, whisk together the flour, cornstarch, paprika, garlic powder, black pepper, onion powder, cayenne, and salt. In another shallow dish, pour the buttermilk.
- Dry the Chicken: Remove the chicken from the brine. Pat each piece thoroughly dry with paper towels. Do not skip this step!
- Dredge the Chicken: Working one piece at a time, dip a piece of chicken into the seasoned flour and toss to coat. Shake off the excess. Next, dip it into the buttermilk, letting any excess drip off. Finally, place it back into the flour mixture. Press the flour firmly onto the chicken to create a thick, shaggy coat.
- Rest the Coated Chicken: Place the breaded chicken on a wire rack and let it rest for 15-20 minutes. This allows the coating to hydrate and adhere to the chicken, which helps prevent it from falling off during frying.
- Heat the Oil: While the chicken rests, pour your oil into a large, heavy-bottomed skillet or Dutch oven to a depth of about 1 inch. Heat over medium-high heat until a thermometer registers 350∘F (177∘C).
- Fry the Chicken: Carefully place a few pieces of chicken into the hot oil, skin-side down. Do not overcrowd the pan; work in batches. The oil temperature will drop; adjust the heat to maintain a steady 325∘F (163∘C). Fry for 6-8 minutes per side, turning only once, until the crust is deep golden brown and crispy.
- Check for Doneness: The chicken is done when an instant-read thermometer inserted into the thickest part (not touching bone) reads 165∘F (74∘C).
- Drain and Rest: Transfer the cooked chicken to a clean wire rack set over a baking sheet to drain. Sprinkling with a tiny bit of extra salt fresh out of the fryer adds a final pop of flavor. Let it rest for at least 10 minutes before serving.
Iconic Fried Chicken Recipes from Around the World
Fried chicken recipe is a global phenomenon. Here’s how to approach some of the most famous styles.
The American Classic: A Homestyle Southern Fried Chicken Recipe
True Southern fried chicken is about simplicity and soul.
- The Fat: Many purists swear by frying in lard or bacon grease for an unparalleled savory flavor.
- The Brine/Soak: A long soak in buttermilk is the classic tenderizing and flavoring step.
- The Dredge: Often just heavily seasoned all-purpose flour. The seasoning is simple but bold: salt, a lot of black pepper, and paprika.
- The Method: Pan-frying in a cast-iron skillet is the only way to go.
The Colonel’s Secret: Cracking the Code of the KFC Fried Chicken Recipe
The “11 herbs and spices” are one of the world’s most famous culinary secrets. While the exact recipe is unknown, copycat recipes aim to replicate its unique flavor profile.
- The Secret Spices: The dominant flavor is white pepper, which provides a distinct, slightly floral heat. Other key components are believed to include salt, celery salt, black pepper, dried mustard, paprika, garlic salt, ground ginger, and thyme. MSG is also a key component for that signature umami flavor.
- The Method: KFC uses industrial pressure fryers, which cook the chicken faster and at a lower temperature, resulting in extremely moist meat. To replicate this at home (without a pressure fryer), a deep-fry method is best to ensure even cooking. Double dredging (flour -> egg wash -> flour) is also key to a thick crust.
Chickenjoy at Home: A Guide to the Jollibee Fried Chicken Recipe
This Filipino fast-food giant is famous for its “crispylicious, juicylicious” chicken. The secret is in its remarkably crispy skin and savory marinade.
- The Marinade: The flavor profile is savory and slightly garlicky. A marinade or brine with salt, garlic powder, and a touch of MSG is crucial. Some theories suggest a hint of citrus or fish sauce for that unique umami kick.
- The Crust: The crust is famously thin, brittle, and almost glass-like. This points to a high percentage of cornstarch or rice flour in the dredge. The “shaggy” texture is achieved by ensuring the coating is well-hydrated before frying.
Internal Link Suggestion: For a dedicated recipe, visit our complete guide to making a [Jollibee Fried Chicken Recipe at Home].
Crispy and Savory: The Unique Magic of a Filipino Fried Chicken Recipe
Beyond Jollibee, traditional Filipino fried chicken recipe often has a simpler, but no less delicious, preparation. It’s often called “Pinoy Fried Chicken.”
- The Marinade: The defining feature is a marinade that often includes soy sauce, calamansi juice (or lemon/lime), garlic, and black pepper. This gives the meat a deep, savory, and tangy flavor.
- The Crust: The coating is typically very light or sometimes non-existent. The goal is to crisp up the chicken’s natural skin. When a coating is used, it’s usually a very light dusting of flour or cornstarch.
Achieving Perfection: Pro-Tips and Troubleshooting
Even with a perfect recipe, things can go wrong. Here’s how to troubleshoot common issues and incorporate pro-level techniques.
Inspired by the Pros: Techniques from Serious Eats for an Extra Edge
Food science hubs like Serious Eats have popularized techniques that guarantee results. One of the best is the vodka-in-the-batter trick.
- The Vodka Secret: Adding a couple of tablespoons of high-proof vodka to your liquid binder (like the buttermilk or egg wash) can result in an even crispier crust. Vodka is more volatile than water, so it evaporates more explosively in the hot oil, creating a rougher, crunchier surface. It also inhibits some gluten development, leading to a more tender crust.
- The Double Fry: This technique, popular for French fries and Korean fried chicken, works wonders here too. Fry the chicken at a lower temperature (around 300∘F / 150∘C) until it’s just cooked through. Let it cool on a wire rack, then just before serving, fry it again at a very high temperature (375∘F / 190∘C) for just a minute or two. This drives off any remaining surface moisture and creates an incredibly hard, crispy shell.
Common Problems and Solutions
- Problem: My crust is soggy and greasy.
- Cause: Your oil temperature was too low. The chicken steamed and absorbed oil instead of frying.
- Solution: Use a thermometer. Don’t overcrowd the pan. Ensure your oil is back up to temperature before adding a new batch.
- Problem: The crust is burnt but the inside is raw.
- Cause: Your oil temperature was too high.
- Solution: Use a thermometer. Aim for a steady 325∘F to 350∘F. If your crust is browning too quickly, you can finish the chicken in a 350∘F (177∘C) oven until it reaches an internal temperature of 165∘F (74∘C).
- Problem: The breading fell off.
- Cause: The chicken skin was too wet, or you didn’t let the coating rest before frying.
- Solution: Pat the chicken extremely dry after brining. Let the breaded chicken rest on a wire rack for at least 15 minutes before it hits the oil. Also, be gentle when placing it in the oil and don’t move it for the first few minutes until the crust has set.
What to Serve with Fried Chicken Recipe
Fried chicken is the star, but the supporting cast is just as important. Classic pairings include:
- Mashed Potatoes and Gravy
- Buttermilk Biscuits
- Coleslaw
- Macaroni and Cheese
- Corn on the Cob
A Note on Fried Rice
While you might be looking for a great chicken recipe, many wonder how to make fried rice as a perfect side dish. A simple fried rice with egg, soy sauce, and scallions can be a wonderful, savory counterpoint to the rich chicken.
Conclusion: Your Journey to Fried Chicken Mastery
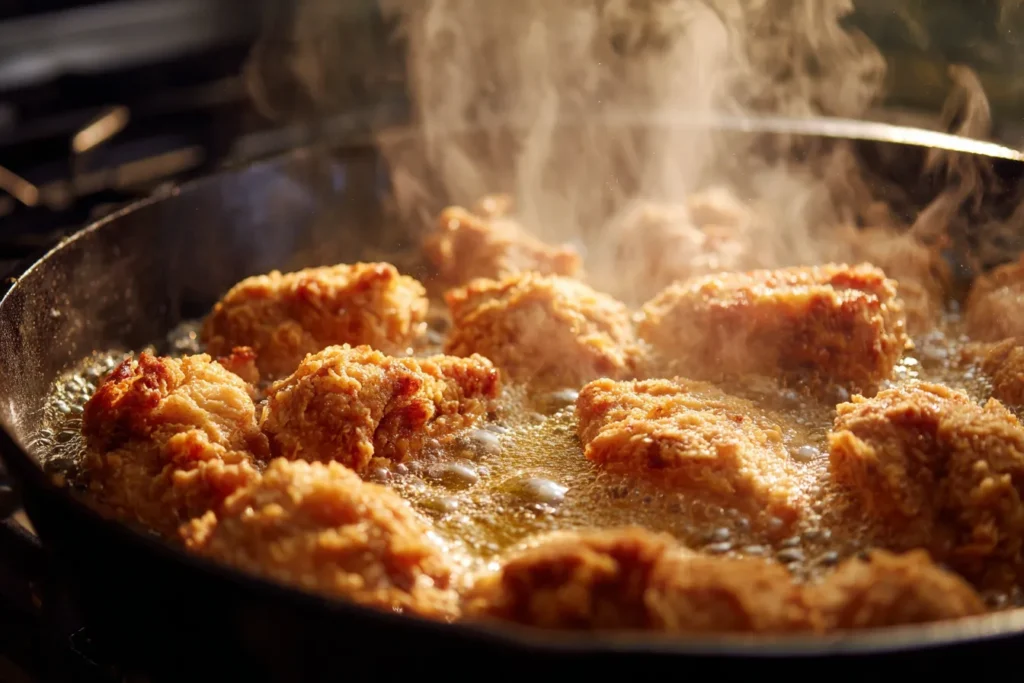
Making perfect fried chicken recipe isn’t about some unknowable secret; it’s about understanding and executing a series of simple but critical techniques. Brine your chicken for moisture and flavor. Build a seasoned crust with the right combination of flour and starch. Control your oil temperature with an iron fist (and a good thermometer).
Use the master recipe in this guide as your canvas. Experiment with different spice blends, try a cornflake crust, or master the art of pan-frying. The path to your own personal perfect fried chicken recipe is a delicious one. Now go forth and fry.
Frequently Asked Questions (FAQ)
Q1: Can I make fried chicken recipe in an air fryer? A: Yes, you can make a version of “fried” chicken in an air fryer. It won’t have the same deeply crisped, rich crust as oil-fried chicken, but it can be a delicious and healthier alternative. The key is to spray the breaded chicken generously with cooking oil before air frying to help it crisp up.
Q2: What is the best way to reheat fried chicken? A: The worst way is the microwave, which will make the crust soggy. The best way is in the oven or an air fryer. Place the chicken on a wire rack on a baking sheet and heat in a preheated oven at 375∘F (190∘C) for 10-15 minutes, or until the skin is re-crisped and the chicken is heated through.
Q3: How do I dispose of used frying oil? A: Never pour oil down the drain; it can cause serious plumbing blockages. Let the oil cool completely. If you plan to reuse it (you can for 1-2 more times), strain it through a coffee filter or cheesecloth into a clean, airtight container. To dispose of it, pour the cooled oil into a sealable, non-recyclable container (like an old milk carton or the original oil bottle) and throw it in the trash.
Q4: Why is my fried chicken tough? A: Tough fried chicken is almost always overcooked fried chicken. This is especially a problem with lean meat like chicken breasts. Using a brine helps, but the most important tool is an instant-read thermometer. Pull the chicken from the oil as soon as it reaches an internal temperature of 165∘F (74∘C).
Q5: Should I fry with the lid on or off? A: For the majority of the cooking time, fry with the lid off. Covering the pan traps steam, which will drip back into the oil and make your crust soggy. Some old-school recipes call for covering the pan for the first few minutes to help the inside cook with steam before uncovering to crisp the crust, but it’s a tricky technique that can easily lead to sogginess. It’s safer and more reliable to cook uncovered.
Q6: Can I use self-rising flour for my breading? A: Yes, you can. Self-rising flour contains baking powder and salt. The baking powder will leaven the crust slightly, creating a puffier, lighter texture that can be quite pleasant. Just remember to reduce the amount of salt you add to the dredge to compensate for the salt already in the flour.
For the Curious …
Safe Minimum Internal Temperature Chart | U.S. Department of Agriculture – This link from the USDA provides the official, science-backed guidelines on safe minimum internal temperatures for cooking meat, including poultry, which is essential for any fried chicken recipe.
The Science of Good Cooking: The Art of Frying | America’s Test Kitchen – An in-depth explanation of the science behind frying from America’s Test Kitchen, a highly respected and authoritative source in the culinary world known for its meticulous testing and food science-based approach.
About the Author:
Chef Antoine Dubois is a classically trained chef from Lyon who spent over a decade mastering regional American cuisine in New Orleans and Charleston. His work focuses on applying classic French techniques to iconic comfort foods, like fried chicken, to achieve consistently perfect results. He is the author of the award-winning cookbook, “The Southern Table, The French Soul.”